
Initial Setup
Once the prerequisites are installed it is time to setup the development, and production environments.
- Create a basic web bot in Azure
- Download the bot code
- Setup the local project
- Link the local project to Team Services
- Setup Continuous Deployment with Team Services
The Azure templated deployment is a quick way to get the files we need, to see how the service works – it has the config files to install the required Node modules locally. There are two deployment options for the bot, the Web Bot and Functions Bot. I am using the Web Bot for this exercise because the setup is simpler for those users doing this for the first time – the main difference is the file structure; the core code is the same, the differentiator is the pricing model, either the web application or functions (consumption plan) - https://azure.microsoft.com/en-us/pricing/details/bot-service/
For neatness, and simplicity with test projects I usually create a new dashboard, it makes it easier find the bits in use and doesn’t clutter the main dashboard. Just click the + New dashboard button and call it something appropriate – there is a dropdown by the dashboard name that allows you to switch dashboards.
In the Azure portal select + Create a resource.
Search for “web bot” and select the Web App Bot, it should be the top one. In the new blade click Create.
In the new blade give your bot a unique name – cannot be a duplicate.
- Create a new Resource group
- Location – I use West Europe
- App name should be populated, this needs to be globally unique so if it does not match the Bot name, that is why.
- Bot template – click to open the new blade, at the top change the SDK Language to Node , select the Basic bot tile, and slick Select at the bottom.
- Leave the rest as defaults.
- Tick the Pin to Dashboard box and click Create.
You have just created a bot. When it has deployed, open the bot and in the BOT MANAGEMENT section open Test in Web Chat. When the bot is ready (if this takes a little while you can come back to this part), type any old message and enter. You should see your message echoed back to you. That is our starting point, it’s basic, but you will get to see how to build out the functionality.
From the blade, open Build so that we can configure Continuous deployment from source control .
Step 1: Download the zip file – this is the code for the bot, as it is; the service creates the .zip file and you need to watch for when it's ready to download – it can time out, so if you miss it, just start download again. Note: I had a slight problem with the download – a 403 error, but it worked in another browser.
Step 2: Extract the .zip file to a local directory – I just use my user directory, with the bot name for the folder. I would advise against installing in a folder sync'd to the cloud, eg OneDrive, or similar, due to the number of files created when the Node modules install.
- Open VS Code.
- Go to File > Open Folder…
- Click on the one you created just now and Select Folder.
You should now see the Node application as follows:
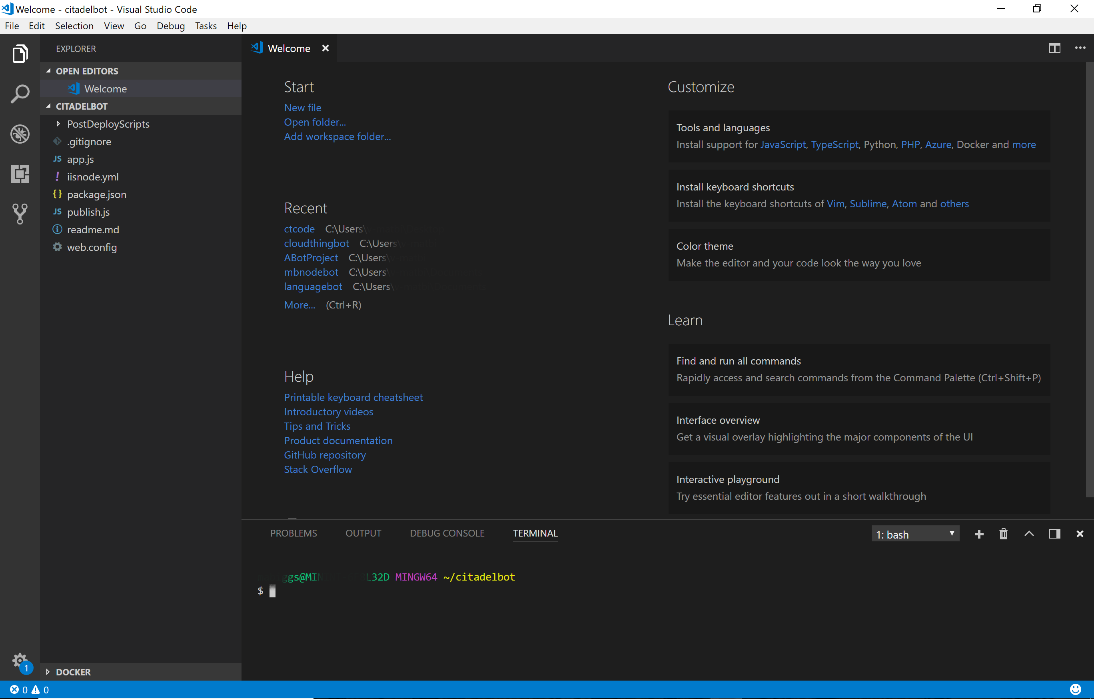
The reason for downloading the basic Bot from Azure is that it builds out the application and saves time. Your bot runs in the app.js file, I will explain a few other bits as we go.
At the moment the application is incomplete, Node needs install the modules required to run the application. The modules required are listed in the {} package.json file.
 "dependencies": {
    "botbuilder": "^3.13.1",
    "botbuilder-azure": "^3.0.4",
    "restify": "^5.0.0"
},
If not open type CTRL-‘ to open a terminal window. There should be a dropdown that says 1. Bash, this is what you want. If not see the earlier instructions for setting up VS Code.
To install the modules using NPM type:
npm install
This will fetch the required modules and install them, the same happens in the build when the application is pushed to Azure. You may see some warning messages in the terminal window – I know the app works in Azure so these are not an issue, but ordinarily you may want to investigate.
If you look at the explorer, you may need to refresh this, but you should now see the node_modules folder, if you expand the tree you will see the added modules.
Run the application:
node app.js
This should now run without error. Type CTRL-C to end.
Now we are ready to set up Git (version control) for this application. Type:
git init
You should see a message to say the repository has been initialised and see a change in the terminal with the location now ~/citadelbot (master) – this tells you that you are in the master branch of git, essentially the final version that gets pushed to production – you may use other branches when developing features with a team where you don't want to break the production version, but that's a whole other topic.
Go back into Team Services and the Project you created for this bot, you should land in the code page. Copy the HTTPS link - **https:
It should look like: https://matt.visualstudio.com/\_git/citadelbot
Back in the terminal type:
git remote add origin https://<YOUR_ACCOUNT>.visualstudio.com/_git/<BOT_NAME>
We are now going to push the code from VS Code (locally) to VSTS. You can do this from the command line (and is well documented) but we will use VS Code tooling – I use this method as I like to use just one terminal instance and may want to commit while it is running another task, that will make more sense in a little while.
On the left bar, at the bottom is the Source Control icon, a two pronged fork, which should have a blue number against it – that is the number of uncommitted changes. Commit is the term for submitting the code changes, it doesn’t do it when you save as the code may be incomplete and you’re just saving while you make a cup of tea.
You should see a list of all of the new / amended files. It is customary to add a message with each commit to make it easier to track changes, especially when working in a team, in the top bar enter the message:
Initial commit
Press CTRL-Enter or click on the tick icon.
At the very bottom of the screen, on the blue bar, next to (master) there is a cloud icon with an arrow, click this. This will publish to linked Team Services repository – the progress bar is at the top.
To confirm this has worked, go back to the web browser, to Team Services and click on Commits, you should see your Initial commit. If you click on Files you will be able to see the files from the commit – this is the Team Services Git repo.
To complete the setup go to Azure , and Bot Management > Build. You can now complete: Step 3: Configure continuous deployment. Click on the link.
In Deployments click Setup.
Deployment option:
- Choose Source: Visual Studio Team Services
- Choose a project: citadelbot/citadebot (or whatever you called the project)
- Choose branch: master (this should default)
Leave the performance test and accept.
If you close that blade and then go back into Configure Continuous Deployments, you should now see the Initial Commit showing as building. When done you will get a tick and it should read Active.
You now have source control for your Bot app locally, with Git, pushing to Team Services Git, this will automatically build and release to Azure. I should note at this point that in a real-world scenario, working in DevOps, you would usually create a Build process, and Release process in Team Services and not just push everything straight to Azure, certainly where you are working as part of a team.
Finally, we can setup the Bot Framework Emulator. Open the application. It should look like:
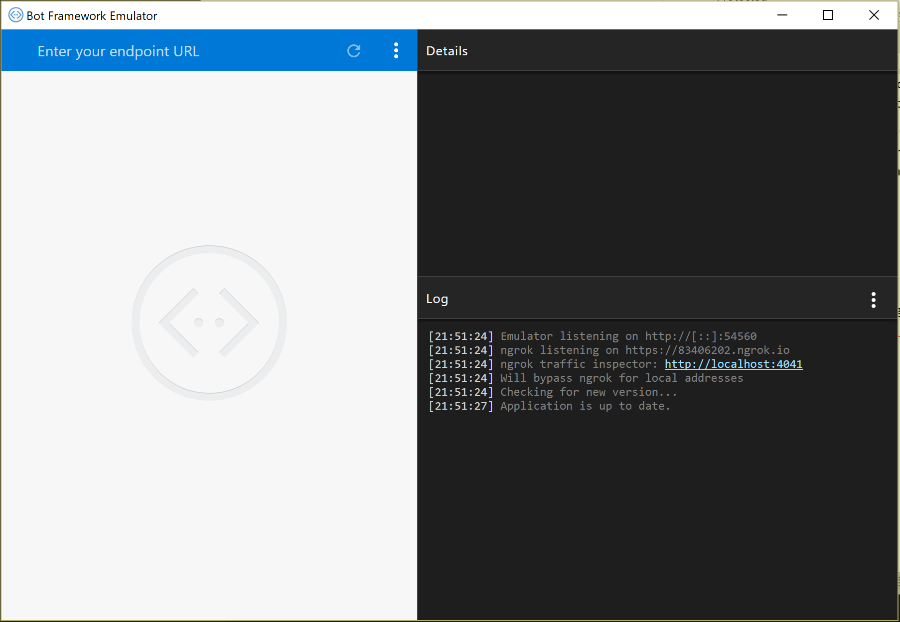
Enter your endpoint URL:
http://localhost:3978/api/messages
Connect (You don’t need any other credentials)
You should see an error in the Log window, because the application is not running. In the VS Code terminal type:
node app.js
When you see the restify listening to http://[::]:3978 message go and refresh the emulator.
node app.js starts Node and tells it what file you want to run – app.js and index.js are the common file names, although could be whatever you want. If you make any changes to the application, you need to stop the app and restart it to load the changes. To get around the stop/start process you can use nodemon, which we will do further on.
In the emulator if you type hello there will be no error, but you won’t get a response, we will address that, but everything it working as it should.
Kill the app in the terminal – CTRL-C.
Next: Node development
Leave a comment