
Install Visual Studio 2017
The installation steps for Visual Studio 2017 are the same for Enterprise, Professional, and Community editions. Enterprise has been assumed for the instructions.
- Download the Visual Studio Enterprise 2017 Installer from https://my.visualstudio.com/benefits
- Running the installer may prompt an update to itself
- Whilst installing Visual Studio Enterprise 2017, check the “Azure development” workload from the Web & Cloud section.

If Visual Studio is already installed, then you may rerun the installer to add the Azure workload:
- Click Start and then the Visual Studio Installer icon
- Click Update in the Visual Studio Enterprise 2017 tile if shown
- Click Modify in the Visual Studio Enterprise 2017 tile
- If Modify is not shown then you may find it in the options icon denoted by three horizontal lines
- Select the Azure development workload and install
Configure Visual Studio for ARM Template Authoring
- Click View -> Other Windows -> JSON Outline in order to set the left hand pane to show the JSON Outline
- Click View -> Cloud Explorer to configure the Cloud Explorer in the right hand pane
- If required, authenticate your Azure subscription
- The authentication may be refreshed by clicking on the user icon in the Cloud Explorer pane
- This dialog also allows subscriptions to be selected and filtered
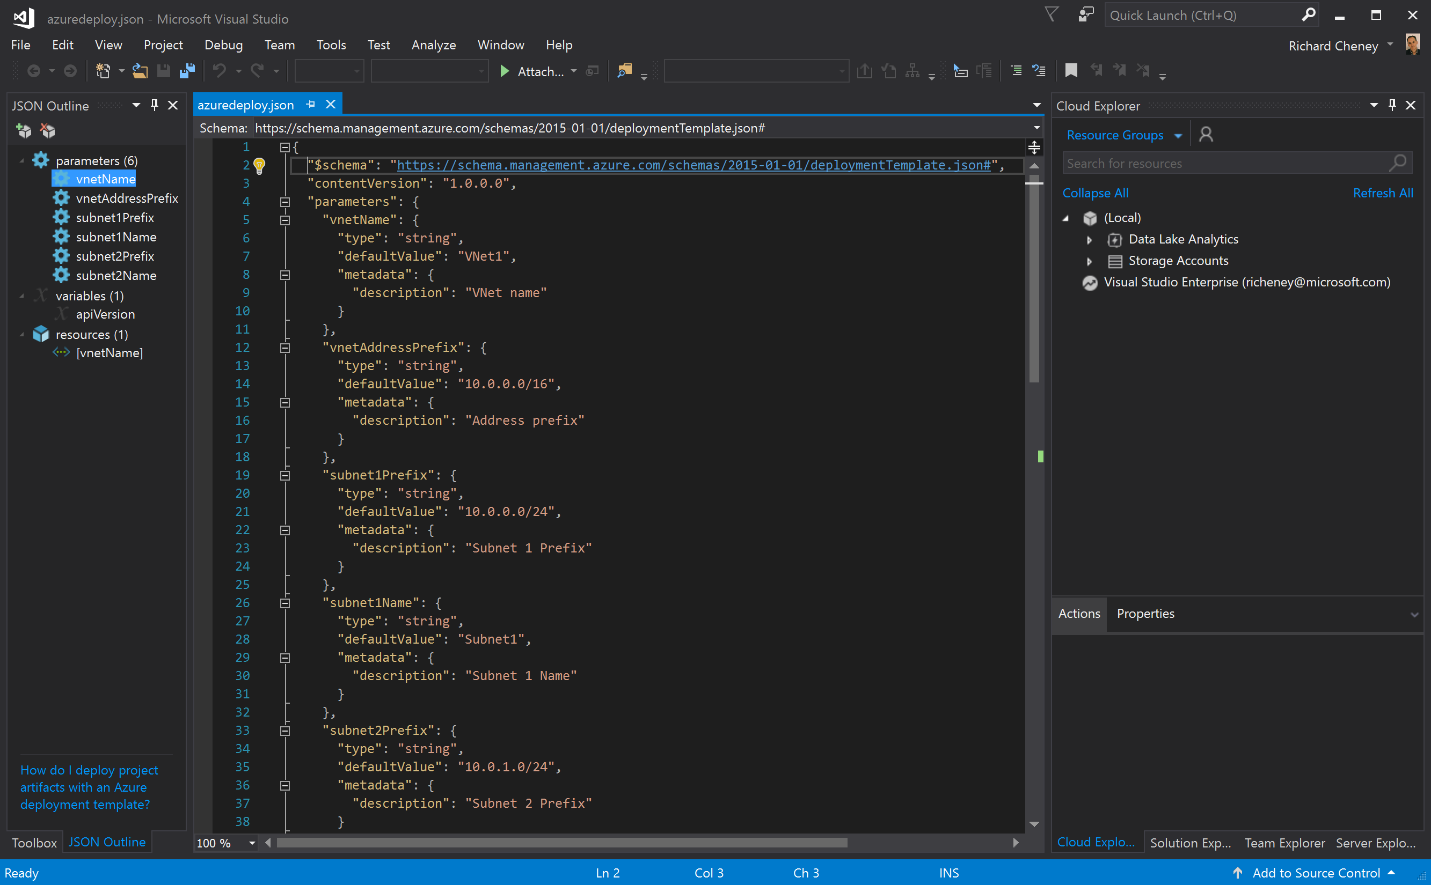
- Verify the configuration by opening (File -> Open -> File, or CTRL+O) an example JSON file, e.g.
https://raw.githubusercontent.com/Azure/azure-quickstart-templates/master/101-vnet-two-subnets/azuredeploy.json - The screen should like similar to the one below, with the coloured JSON file in the middle pane, and the parameters, variables and resources listed in the JSON Outline pane on the left
- If the JSON Outline is not showing correctly, then try closing the file and reopening it.
Leave a comment