
Introduction
The main Azure portal is https://portal.azure.com.
Login using the account for your Azure subscription. Your account information is at the top right, including password change, and viewing permissions and your bill. Next to that is the Help + Support, for accessing the help or opening up a support ticket.
Click on the Help + Support icon and then:
- launch the guided tour
- see what’s new
- check the keyboard shortcuts
Clicking on the cog icon shows the Portal Settings. You can filter multiple subscriptions, change the language and certain portal characteristics.
- Change the theme
Next to the Azure Cloud Shell is the Notifications section, for status updates, billing updates and to show deployment activity.
Dashboard Customisation
The Azure portal enables you to have multiple dashboards and to customise those dashboards. You can also share dashboards with other AAD users or groups within the subscription, leveraging the role based access control (RBAC) to control who has access.
- Open this Markdown file in a new tab and copy the contents
- Create a new dashboard in the Azure portal, and name it “Azure 101”.
- From the Tile Gallery’s General area, pull across the following items:
- Resource Groups Reconfigure (using the ellipsis (…)) to change to 4x4 tiles
- Clock Reconfigure to 2x1, 24 hour, and London time
- Quickstart Tutorials
- Markdown Change title to “Azure 101”, subtitle to Useful Links, and replace the content with the markdown you copied in the first step
- Resize and reposition tiles to fit
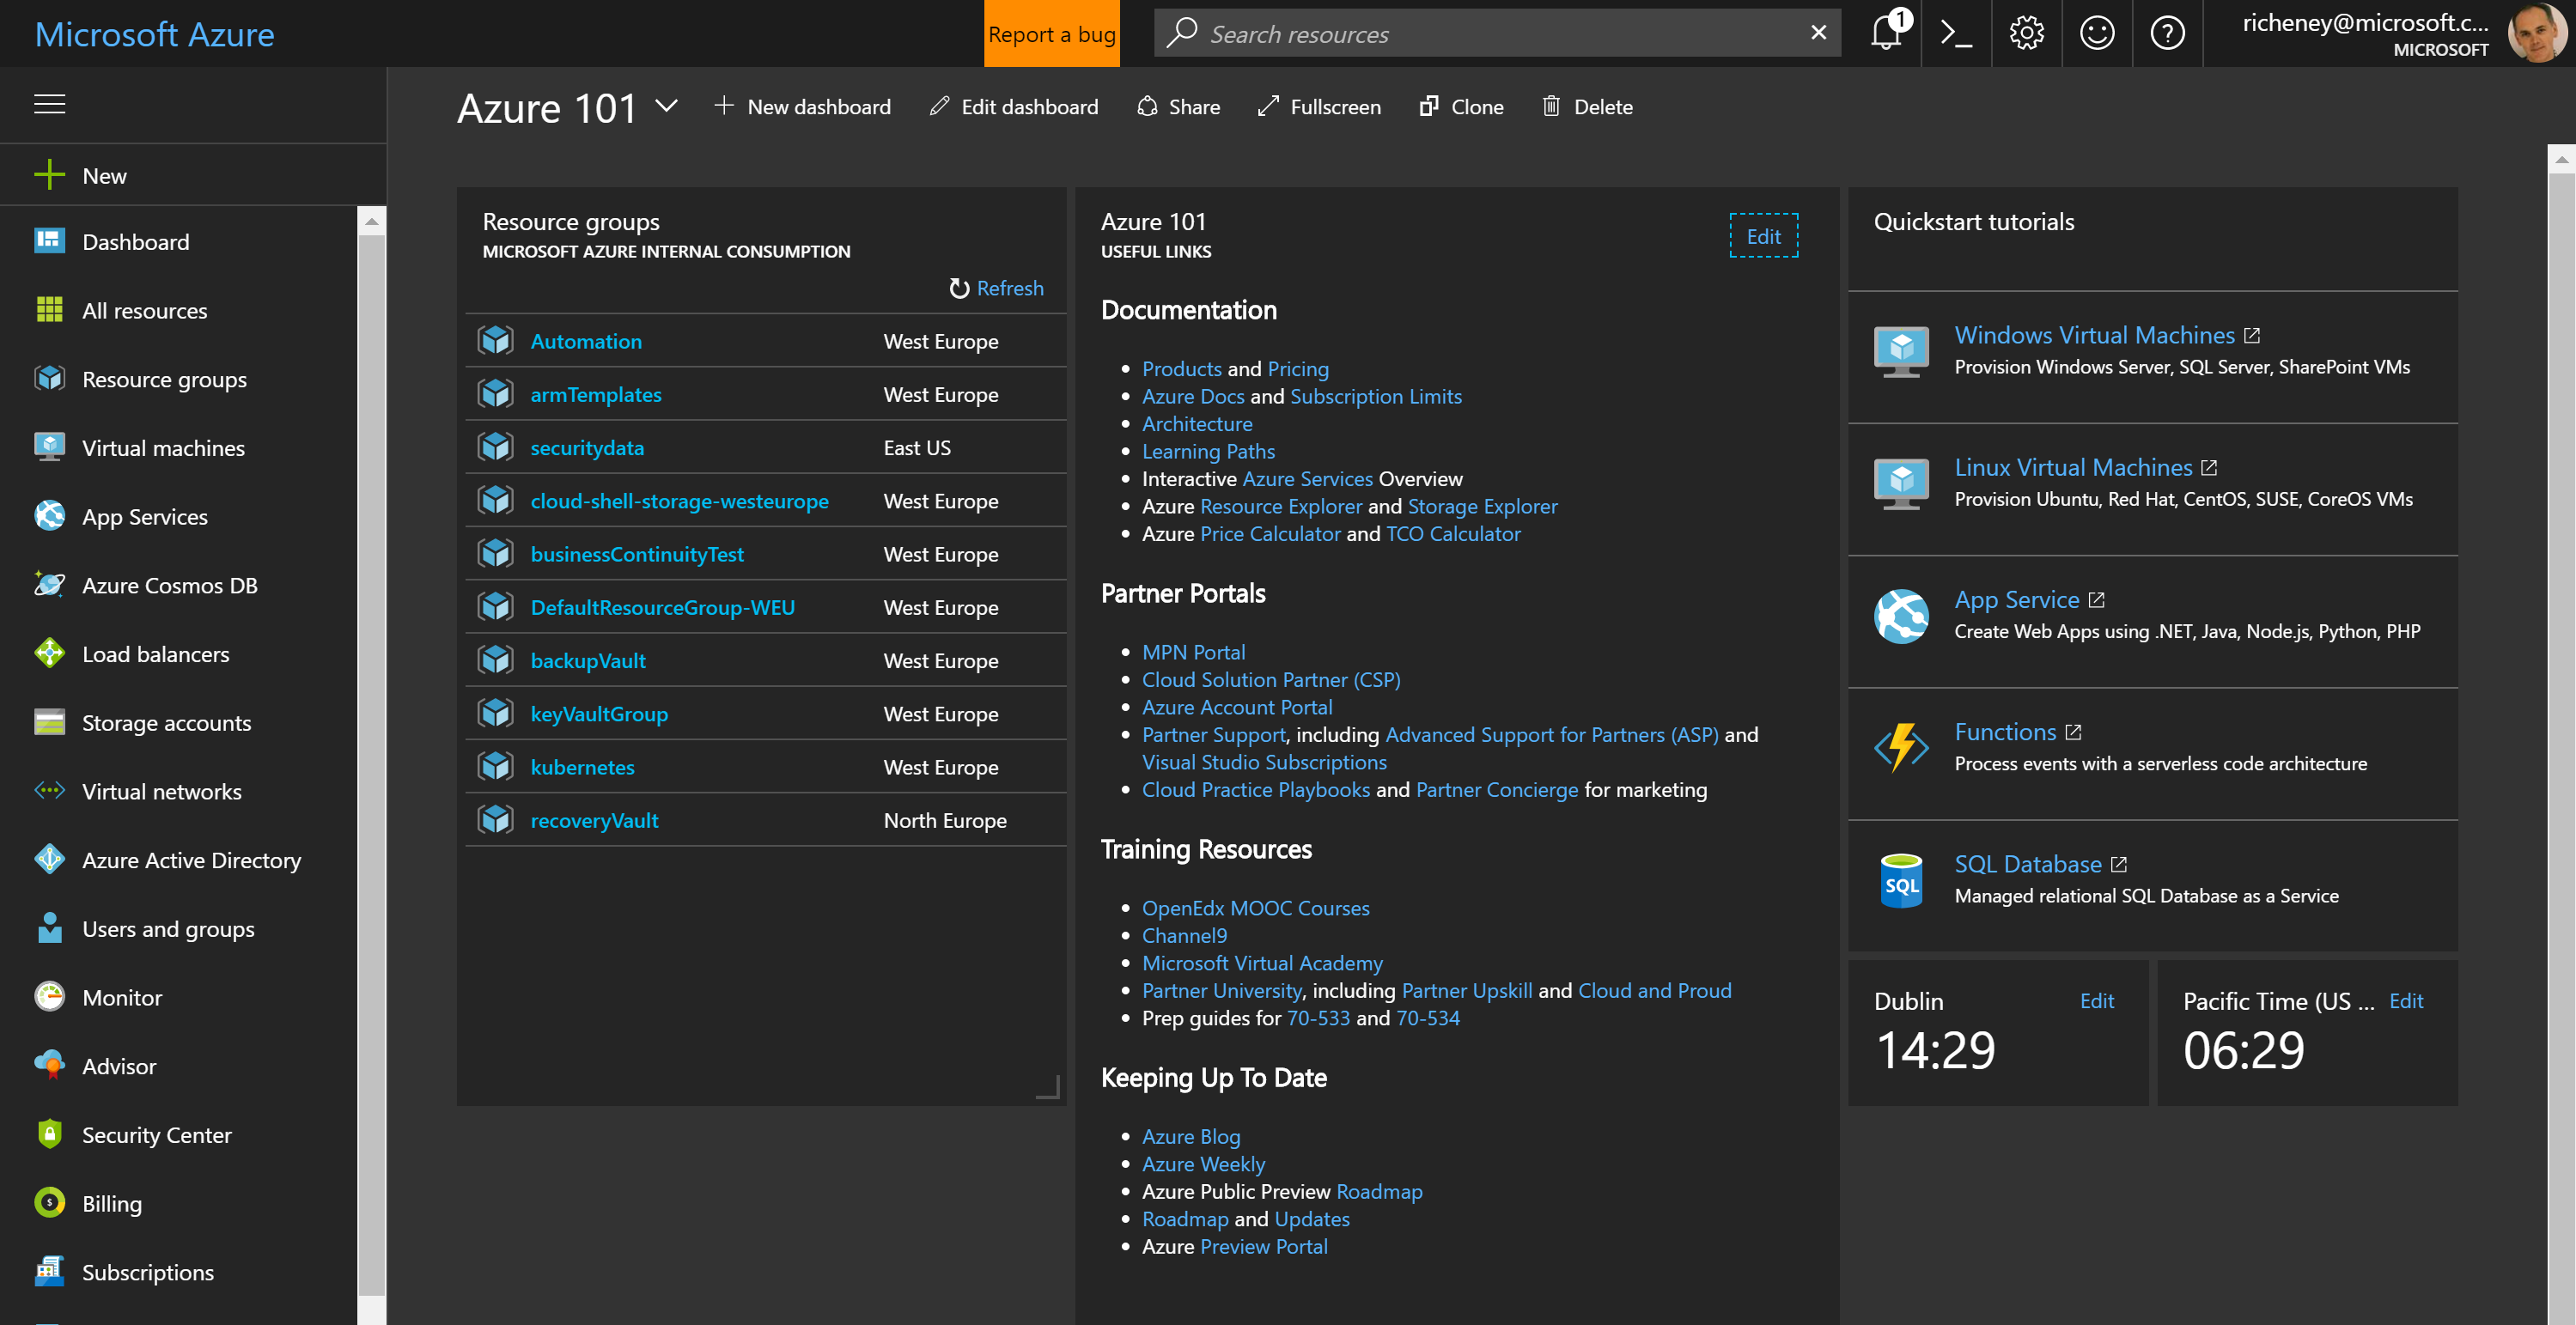
Once complete, your dashboard should look something like this:
Documentation
Let’s click through some of the documentation links in the Markdown box:
| Link | Description |
| Azure Interactives | Interactive Overview of Azure Services |
| Products | Main page for Azure Products |
| Pricing | Pricing and TCO Calculators, plus pricing page for each product |
| Documentation | Azure documentation, quickstarts, SDKs and APIs etc. |
| Architecture | Patterns and Reference Architecture |
| Learning Paths | Guided (and finite) paths for learning a new area |
Create a resource group called Azure101IaaS
If you have already created a resource group called Azure101IaaS as part of the prereqs for the Azure 101 workshop then you can go straight to the creation of the vNet within the resource group.
- Open the Azure portal.
- Choose one of the following options:
- Click on the + New icon (or G+N), search for Resource Group and click on it.
- Click on Resource Groups in your favourites and click on Add
- Click on the More Services icon, Resource Groups in the General section and then on Add
- Create the resource group using the following values:
- Resource Group Name: Azure101IaaS
- Resource Group Location: West Europe
- Note the deployment notification area
Create a Virtual Network (VNet) with two subnets
- Click on the Azure101IaaS resource group
- If it is not visible then refresh the resource groups
- Add a Virtual Network:
- Click on the +
- Search on Virtual Network
- Select, then Create
- Name: azure101vNet
- Address space: 10.4.0.0/16
- Resource Group: Select the ‘Use Existing’ radio button and select Azure101IaaS from the drop down box
- Location: West Europe
- Subnet name: webSubnet
- Subnet address range: 10.4.1.0/24
Once created, click on the new VNet in the Azure101IaaS resource group
- This will open up the “blade”
- Scroll down the pane and find Subnets in the Settings area
- Add dbSubnet (10.4.2.0/24)
If you have time:
If you have completed the lab early then search on information in the portal and on the Azure docs area for the following:
- Network Security Groups (NSGs)
- GatewaySubnet
- ExpressRoute and Site-to-Site (S2S) VPN Gateways
- Network Virtual Appliances
- User Defined Routes (UDRs) in Route Tables
- vNet Peering
- Region to region S2S VPNs
Leave a comment