Azure Resource Manager templates
Azure Resource Manager (ARM) templates are used to deploy resources into resource groups programatically. ARM provides full Infrastructure as Code capability for Azure.
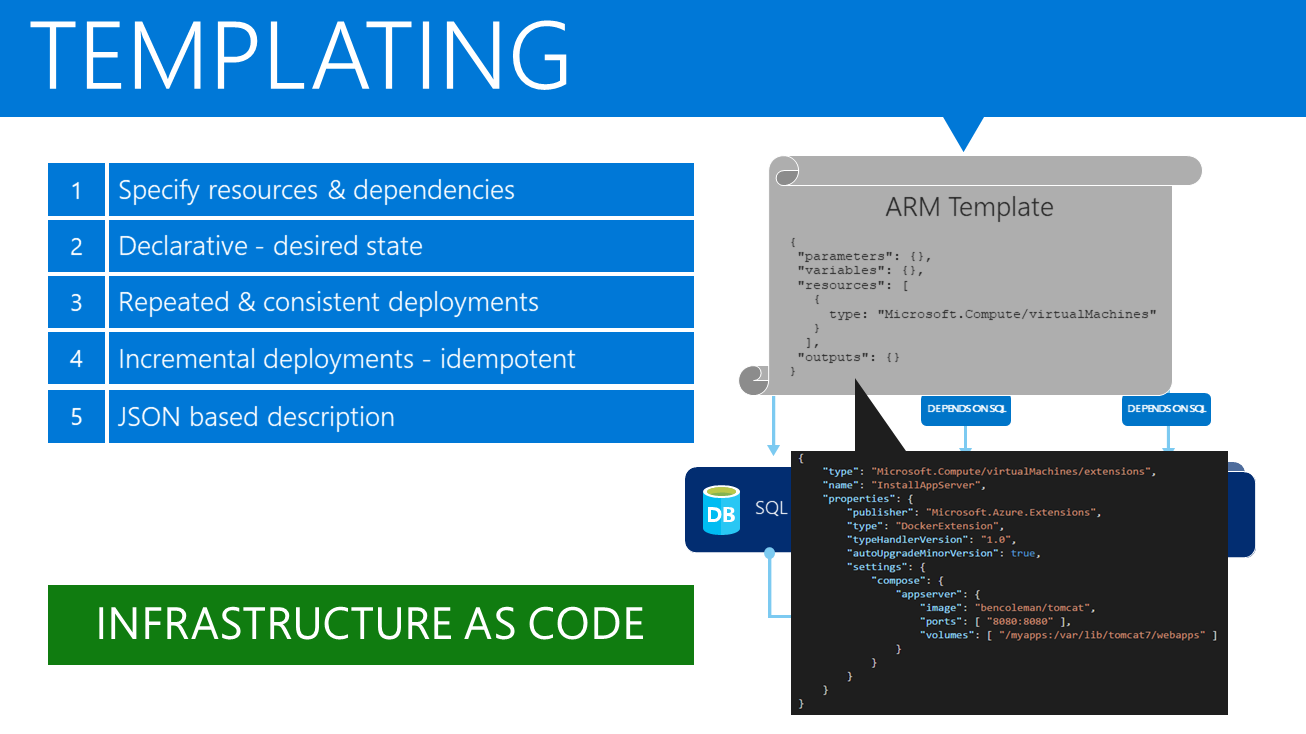
The format is very flexible and enables the configuration of multiple resources and the dependencies between them.
The form of the templates is declarative, i.e. it describes the desired state of the resources to be added into the resource group. This is fundamentally different to the imperative form of PowerShell or Bash scripts, that tell the ARM layer exactly what to do. With the declarative form the ARM layer will interpret the template and the current configuration of resources within the resource group and will then make the required additions or modifications.
The declarative form is a safer approach, and may be used repeatedly to provide consistent deployments.
Idempotency is another term used with ARM templates. As a property, it means that subsequent deployments of the same template using the same parameters will always result in the same configuration. It is common to iteratively change one of the resources in a template and redeploy, safe in the knowledge that the other resources will be unaffected.
Note that the default deployment mode is incremental. With this mode the deployment will not affect resources in that resource group that are not described in the template. With this mode, it is safe to submit multiple templates into the same resource group. The other mode is complete and will remove any resources that are not described in the template, and therefore this mode should be used with caution.
Templates and Parameter Files
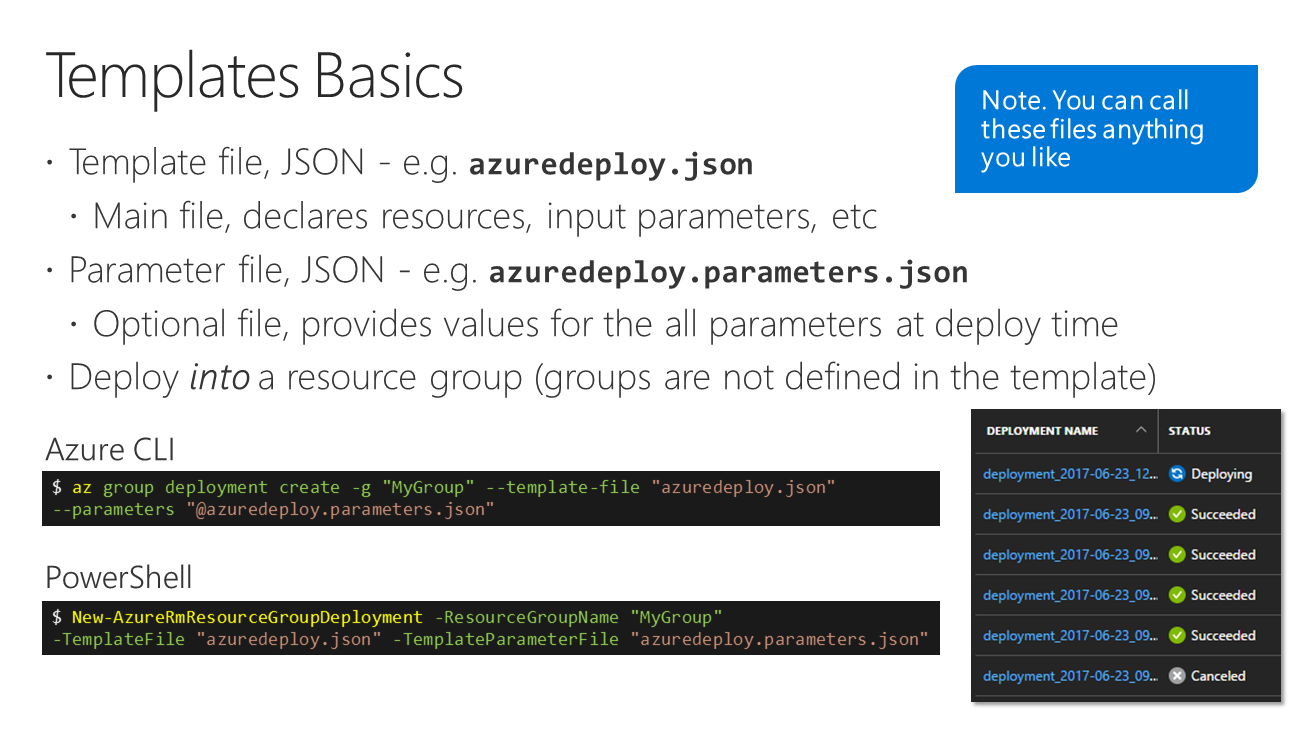
It is possible to deploy using just a template (and this is how the labs will start) but it is common to also have a corresponding parameters file. The deployment command then specifies both files. It is up to you how to name the template and parameter files, but by convention the standards are azuredeploy.json and azuredeploy.parameters.json respectively.
You don’t need to have parameters if using hardcoded or default values. Alternatively, the parameters may be specified inline in the deployment command.
One thing to note is that you cannot define the resource groups themselves within a template. Templates are used for deploying resources into pre-existing resource groups.
Most scripts will create the resource group just before the deployment command. The CLI commands produce the same output and return code regardless of whether the resource group is created or just confirmed as existing.
Azure Resource Manager JSON template format
The ARM template format is JSON format.
Note that the curly brace objects in JSON contain key:value pairs. The value in the key:value pair can also be another object.
Square brackets are another object type, and contain lists of unnamed (but indexed) objects.
Here is an empty template to show the structure.
{
  "$schema": "http://schema.management.azure.com/schemas/2015-01-01/deploymentTemplate.json#",
  "contentVersion": "1.0.0.0",
  "parameters": {
  },
  "variables": {
  },
  "resources": [
    {
    }
  ],
  "outputs": {  }
}
| Section | Description |
| schema | JSON schema that describes the template format |
| contentVersion | version of the schema |
| parameters | user (or script) inputs to the template |
| variables | used within the template to simplify the resources later |
| resources | list of resources to deploy |
| outputs | optional output JSON information |
Of these, the schema and contentVersion are mandatory, as are the resources. Parameters and variables are almost always included. Outputs are rarer, and only really used when nesting templates. More on that later.
Parameters Files
Most ARM templates include user parameters. It is possible to specify parameters inline when deploying (and we’ll come to that later), but most deployments use a parameters file.
This is another JSON format file, following a simple schema:
{
  "$schema": "http://schema.management.azure.com/schemas/2015-01-01/deploymentParameters.json#",
  "contentVersion": "1.0.0.0",
  "parameters": {
    "name": {
      "value": "myResourceName"
    },
    "sku": {
      "value": "Standard"
    }
  }
}
The “name” and “sku” are illustrative parameters. The actual parameters would depend on the ARM template.
Authoring ARM templates
If you go through the following lab sections then you will create example template and parameter files. By doing so you will also be exposed to some of the key functions that are often used.
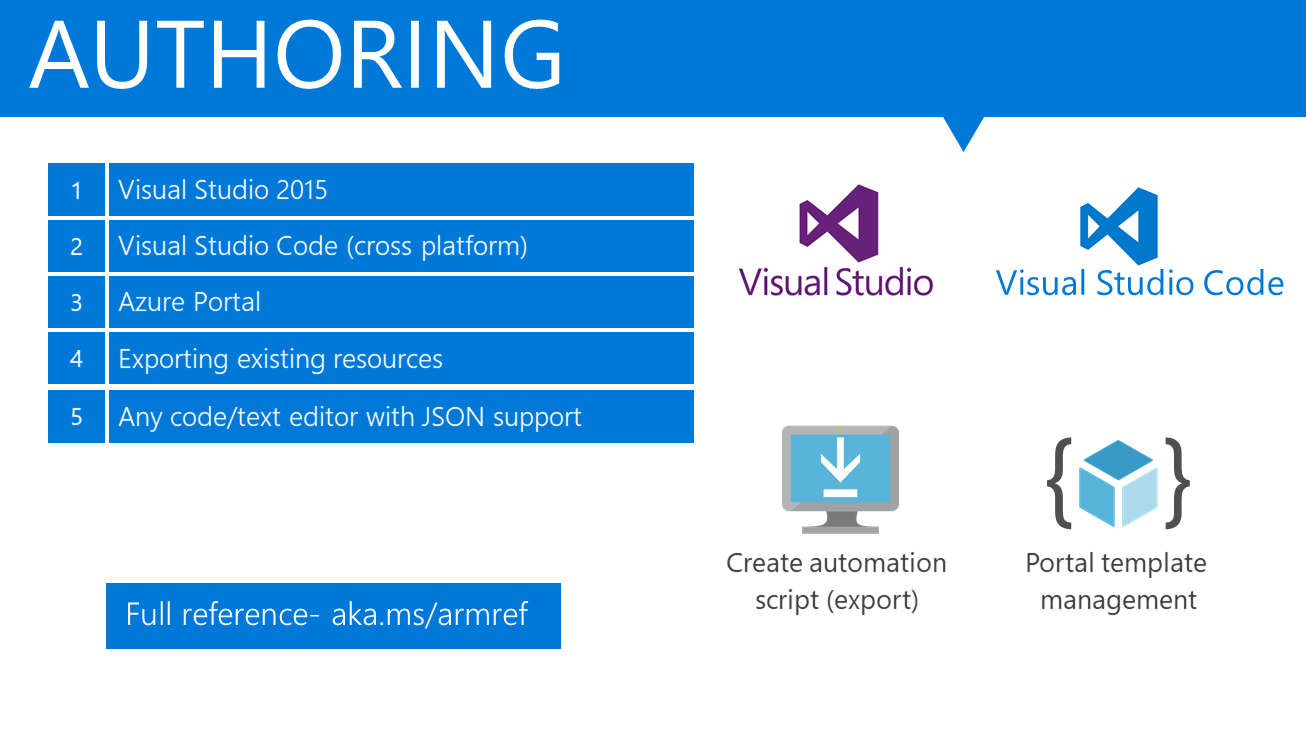
The truth is that you can use any text editor to manipulate JSON files, but most power users will prefer those with support for JSON formatting and snippets of code.
Microsoft provide a couple of integrated development environments (IDEs) that are recommended.
The more lightweight cross platform product of the two is Visual Studio Code (VS Code). This supports JSON syntax highlighting, intellisense and ARM snippets. It has some good integration with both Azure and the GitHub Azure Quickstart repository that we will come on to later. This is the IDE tool that you will see in the screenshots for the majority of the lab. The install instructions in the link include a couple of key extensions, plus how to install the ARM snippets.
The more heavyweight product is Visual Studio 2017 (VS 2017). Once integrated with Azure then adding resources into a JSON file also adds in variables and parameters, and it has excellent intellisense including variable values. However for many it is a sledgehammer to crack a nut for managing something as trivial as JSON files, and can be unnecessarily complex and slow to install and start up.
One option for simple editing is within the Azure Portal itself. Type ‘template’ into the search and select “Deploy a custom template” from there. (Or go direct using this Deploy a Custom Template link.)

The portal editor within this allows the addition of common resources, and much like Visual Studio 2017 it will also populate some of the parameters and variables. In addition you can use common templates or pull from the Azure Quickstart repository.
Examples of other popular third text editing applications are Atom and Sublime Text.
Deploying
The theme of choice continues when it comes to deployment. There are a number of different options that you may use.
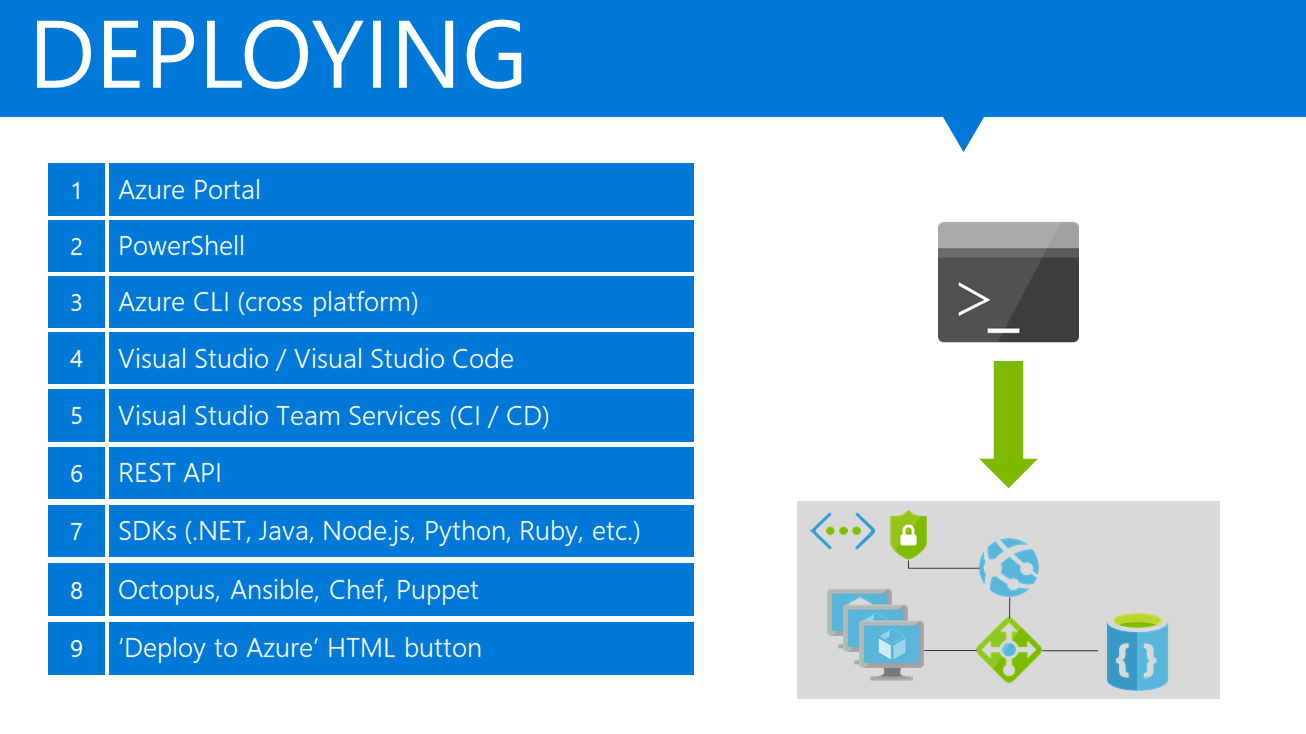
Azure Portal
The Deploy a Custom Template screen may also be used for submission. It is part of the preview templates service within the portal, which may be found in the ‘More Services’ area. This provides an area for templates to be stored within Azure, but this is an area where the options are covered in more depth later.
PowerShell
The AzureRM PowerShell modules are more commonly used for deploying into a resource group. Here is a simple example:
$rg       = "myResourceGroup"
$loc      = "West Europe"
$template = "C:\MyTemplates\WebApp\azuredeploy.json"

Login-AzAccount
New-AzResourceGroup -Name $rg -Location $loc
New-AzResourceGroupDeployment -Name myDeployment -ResourceGroupName $rg -TemplateFile $template
Note that PowerShell is also an option for the Cloud Shell (>_) built into the Azure Portal.
Install instructions for the PowerShell Azure Modules.
CLI 2.0
The Bash compliant CLI 2.0 (or ‘az’) is also very commonly used for deployments. It is written in Python and is open sourced. Here is an example CLI submission matching the PowerShell one above:
rg=myResourceGroup
loc=westeurope
template=/mnt/c/MyTemplates/WebApp/azuredeploy.json

az login
az group create --name $rg --location $loc
az group deployment create --name myDeployment --resource-group $rg --template-file $template
These commands are as tested within the Windows Subsystem for Linux (WSL), with the CLI 2.0 added.
Install instructions for Windows Subsystem for Linux and CLI 2.0.
Again there is a bash session available within the Azure Portal using the Cloud Shell (>_). In fact this is the default. Note that there is no need to login to Cloud Shell. Also the environment as it is maintained for you so there is no need to update.
Other Deployment Options
Visual Studio
Visual Studio includes Azure Resource Group projects so you can deploy the project direct to Azure from within the IDE.
Visual Studio Code
Visual Studio Code provides some useful functionality:
- The Integrated Terminal pane (CTRL-‘) allows you to run either Bash or PowerShell commands directly from within the IDE. (Use Preferences to switch between Bash and PowerShell.)
- The third party Azure Tools for Visual Studio extension includes an Azure: Deploy ARM Template command in the Command Pallette (CTRL-SHIFT-P)
Visual Studio Team Services
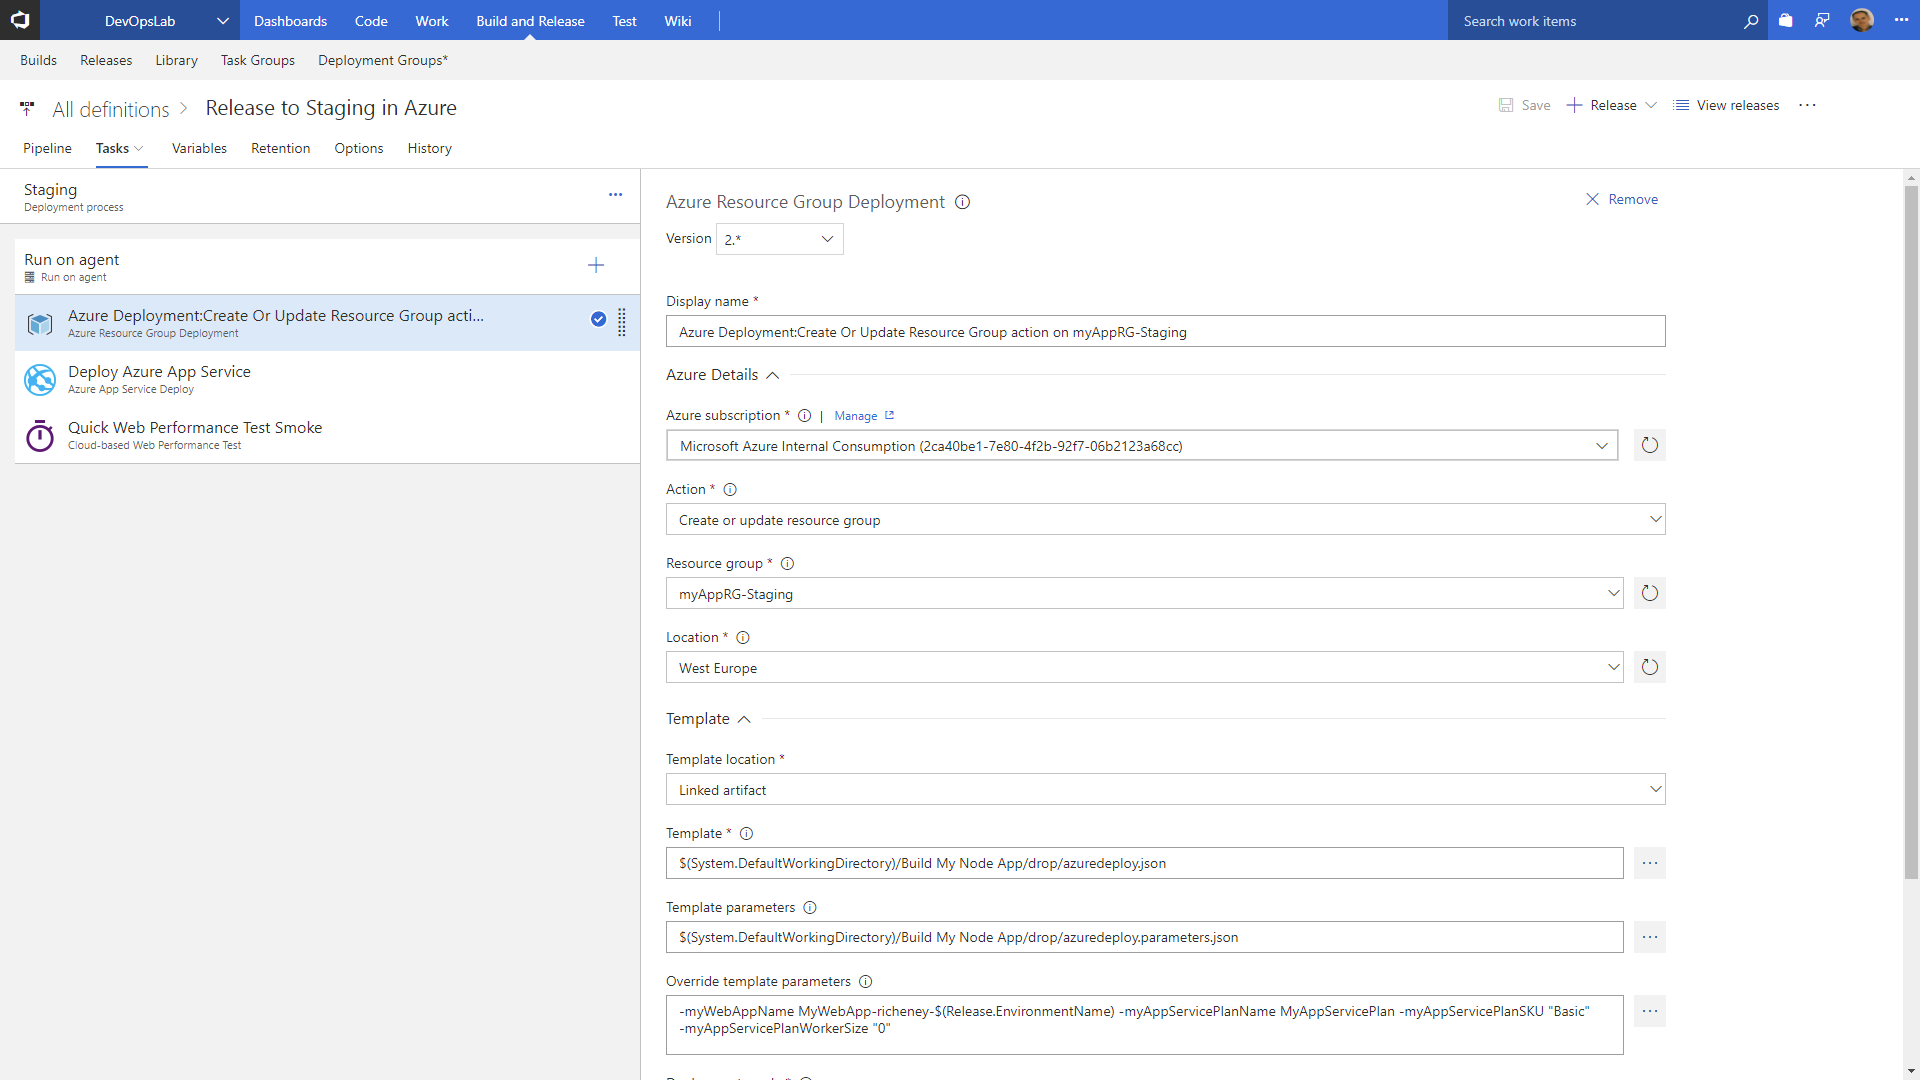
VSTS includes Azure Deployment as one of the many available build steps:
REST API
All of the deployment types listed so far will eventually go through the REST API. For those that wish to drive it directly then there is extensive REST API documentation.
SDKs
Azure supports a number of SDKs, including .NET, Python, Node.js, Java and Ruby. The SDK documentation has Get Started and API Reference information for each, and all may be used to drive deployments.
Configuration Management Tools
Chef, Puppet, Ansible, Salt and Octopus are all Configuration Management tools and all are capable of driving Infrastructure as Code using ARM on the Azure platform. Refer to each ISV’s documentation for more information.
Azure Quickstart Templates
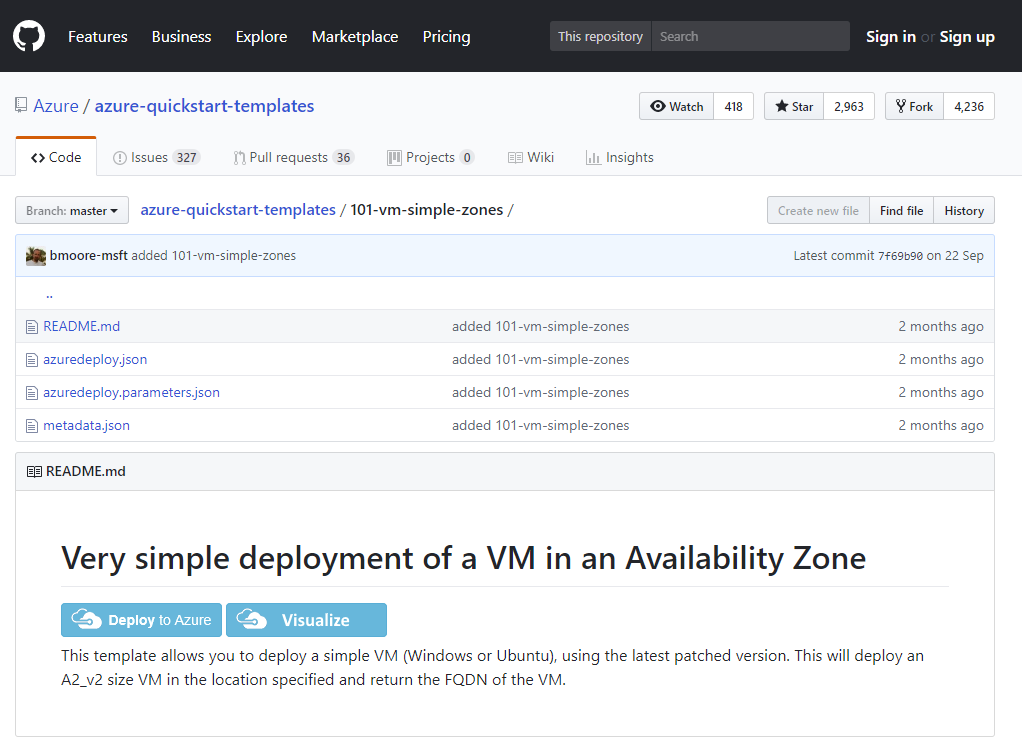
The vast majority of templates that have been contributed to the Azure Quickstart GitHub repository include a large blue Deploy To Azure button that will go straight into the Deploy a Custom Template screens in the Azure Portal. The template and parameters files will be loaded, so you can change the parameter values away from the defaults and then submit.
Recommended reading
For more background information on JSON templates and how they are deployed using into Azure Resource Manager, start with the following links:

Leave a comment